树莓派4B 折腾记
树莓派4B 折腾记
开始入坑树莓派,,,
- 到手的是 Raspberry 4B 2G 版本
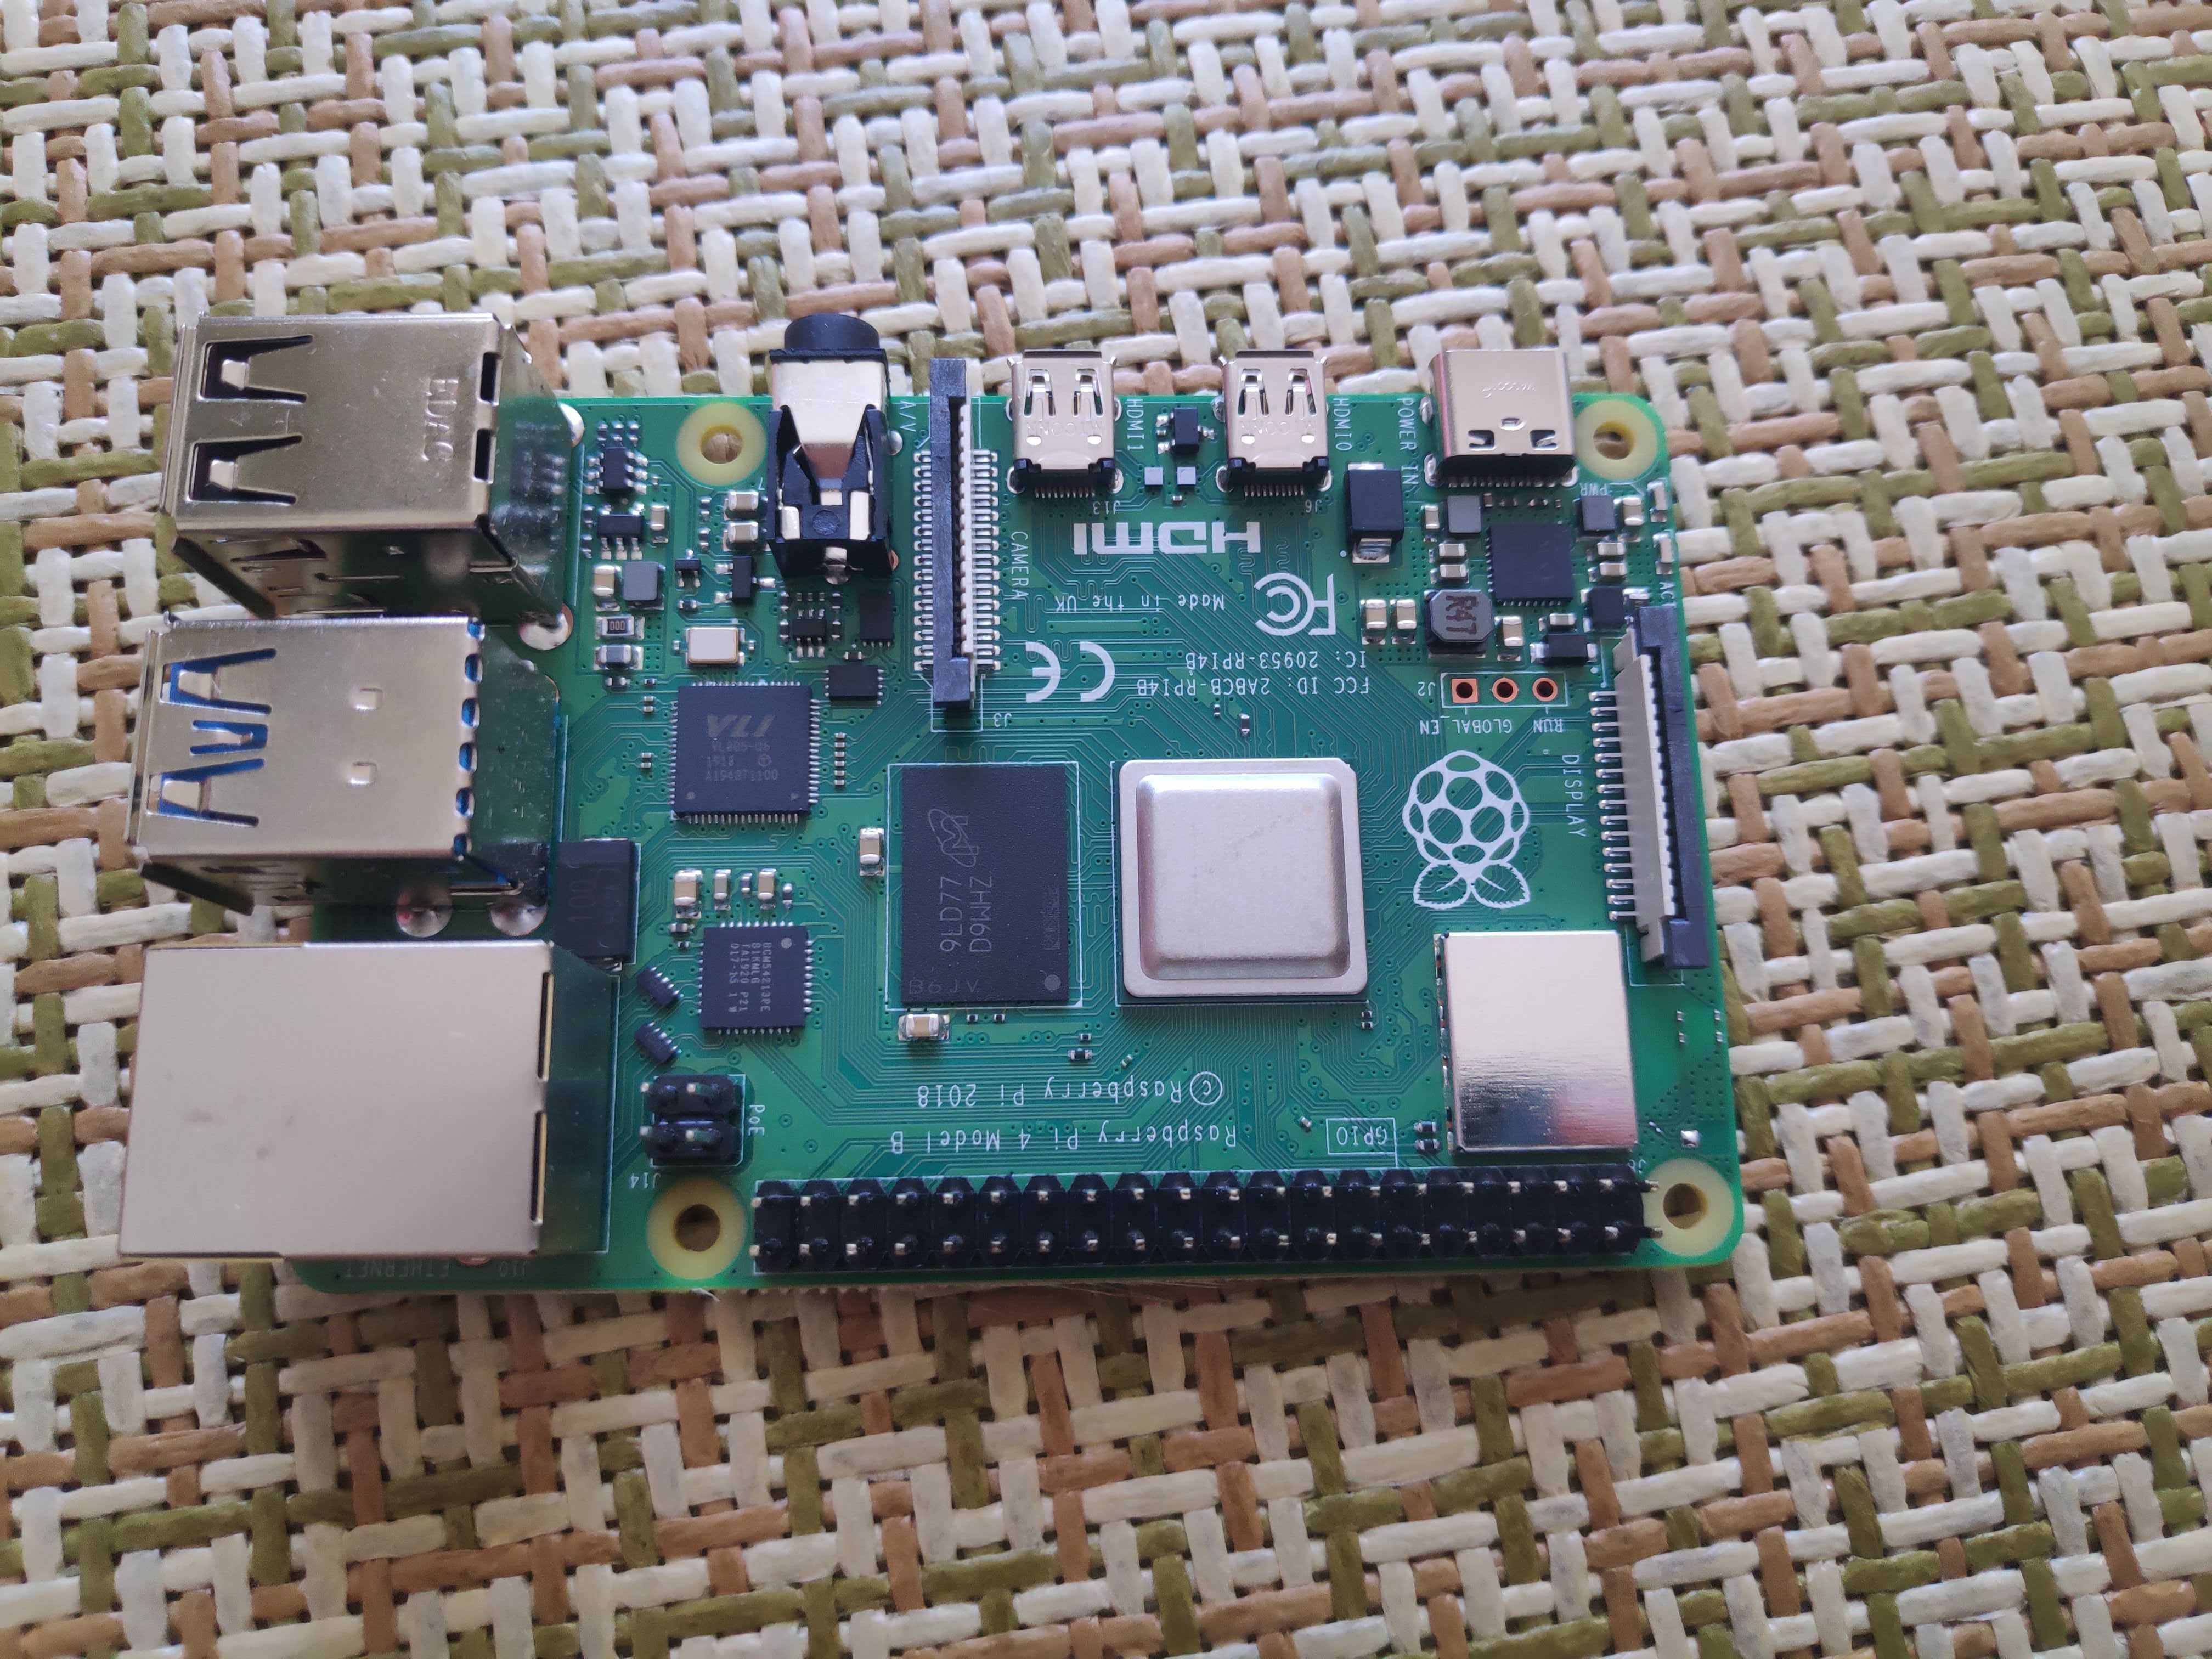
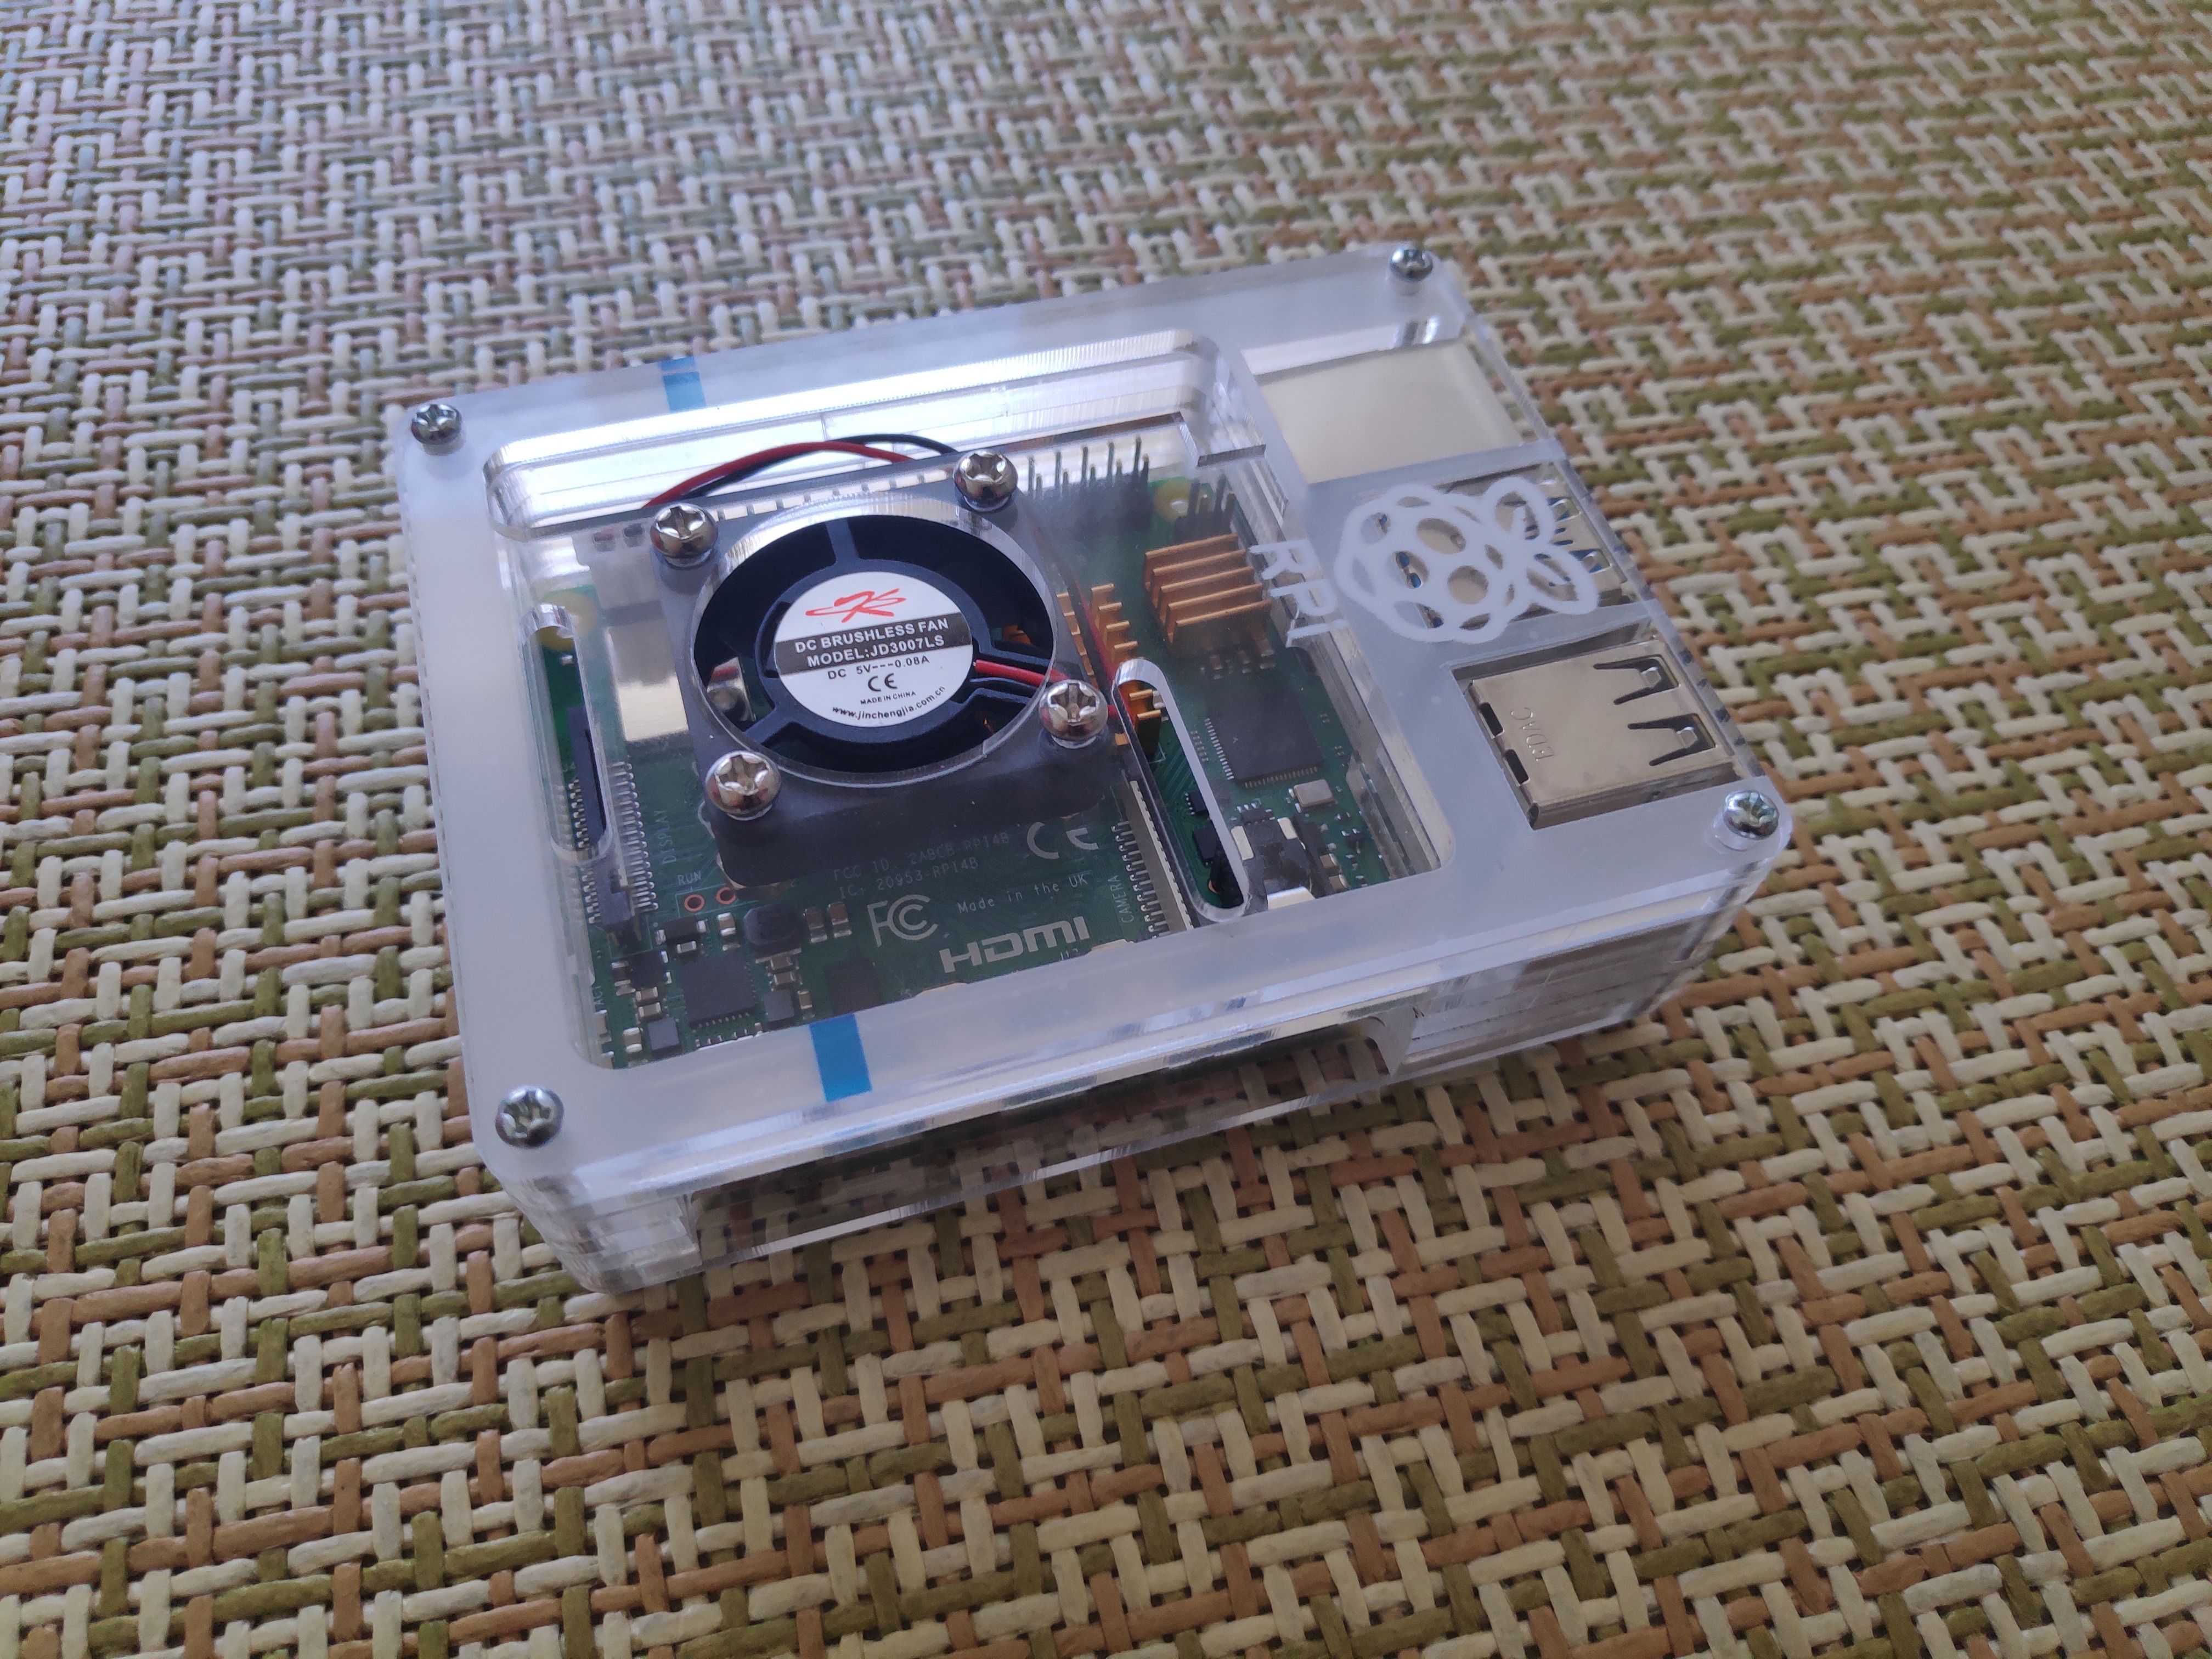
2023.07.13 更新时注: 当年应该多买几个囤起来,多好的理财产品😅😅😅
系统安装
官方下载:https://www.raspberrypi.com/software/
官方系统镜像下载:https://www.raspberrypi.com/software/operating-systems/
三方工具:Win32DiskImager / Balenaetcher
Debian-Pi-Aarch64
香的一批的系统: https://gitee.com/openfans-community/Debian-Pi-Aarch64
2023.07.13更新时注:目前这个项目已经冻结了
安装完成后配置
更改中文
1 | 执行以下命令配置语言 |
修改 /etc/default/locale 文件:
1 | File generated by update-locale |
更改时区、键盘布局等
进入raspi-config,在 Localisation Options Set up language and regional settings to match your location 选项中有设置入口
连接 wifi
刚装完系统时无线网卡是被软件层次上禁用的,需要手动开启:
1 | pi@raspberrypi:~ $ susdo rfkill list |
1 | 可以通过下述命令扫描WIFI信号 |

1 | 进入 raspi-config, 找 Network Options, 选择国家位置信息后继续选择 Wifi, 然后填入需要连接的无线网络的ESSID,再填写密码即可连接成功 |
实现开机同步时间
安装时间NTP:
1 | 安装 NTP |
在 /etc/rc.local 中添加 sudo ntpdate ntp.aliyun.com
1 | Print the IP address |
安装桌面及VNC
这里安装的是 xfce 桌面,尝试了KDE(太卡,内存占用高,而且刚进桌面一段时间内没法打开终端)
1 | sudo apt install -y xfce4 |
VNC 的安装通过 raspi-config 开启VNC
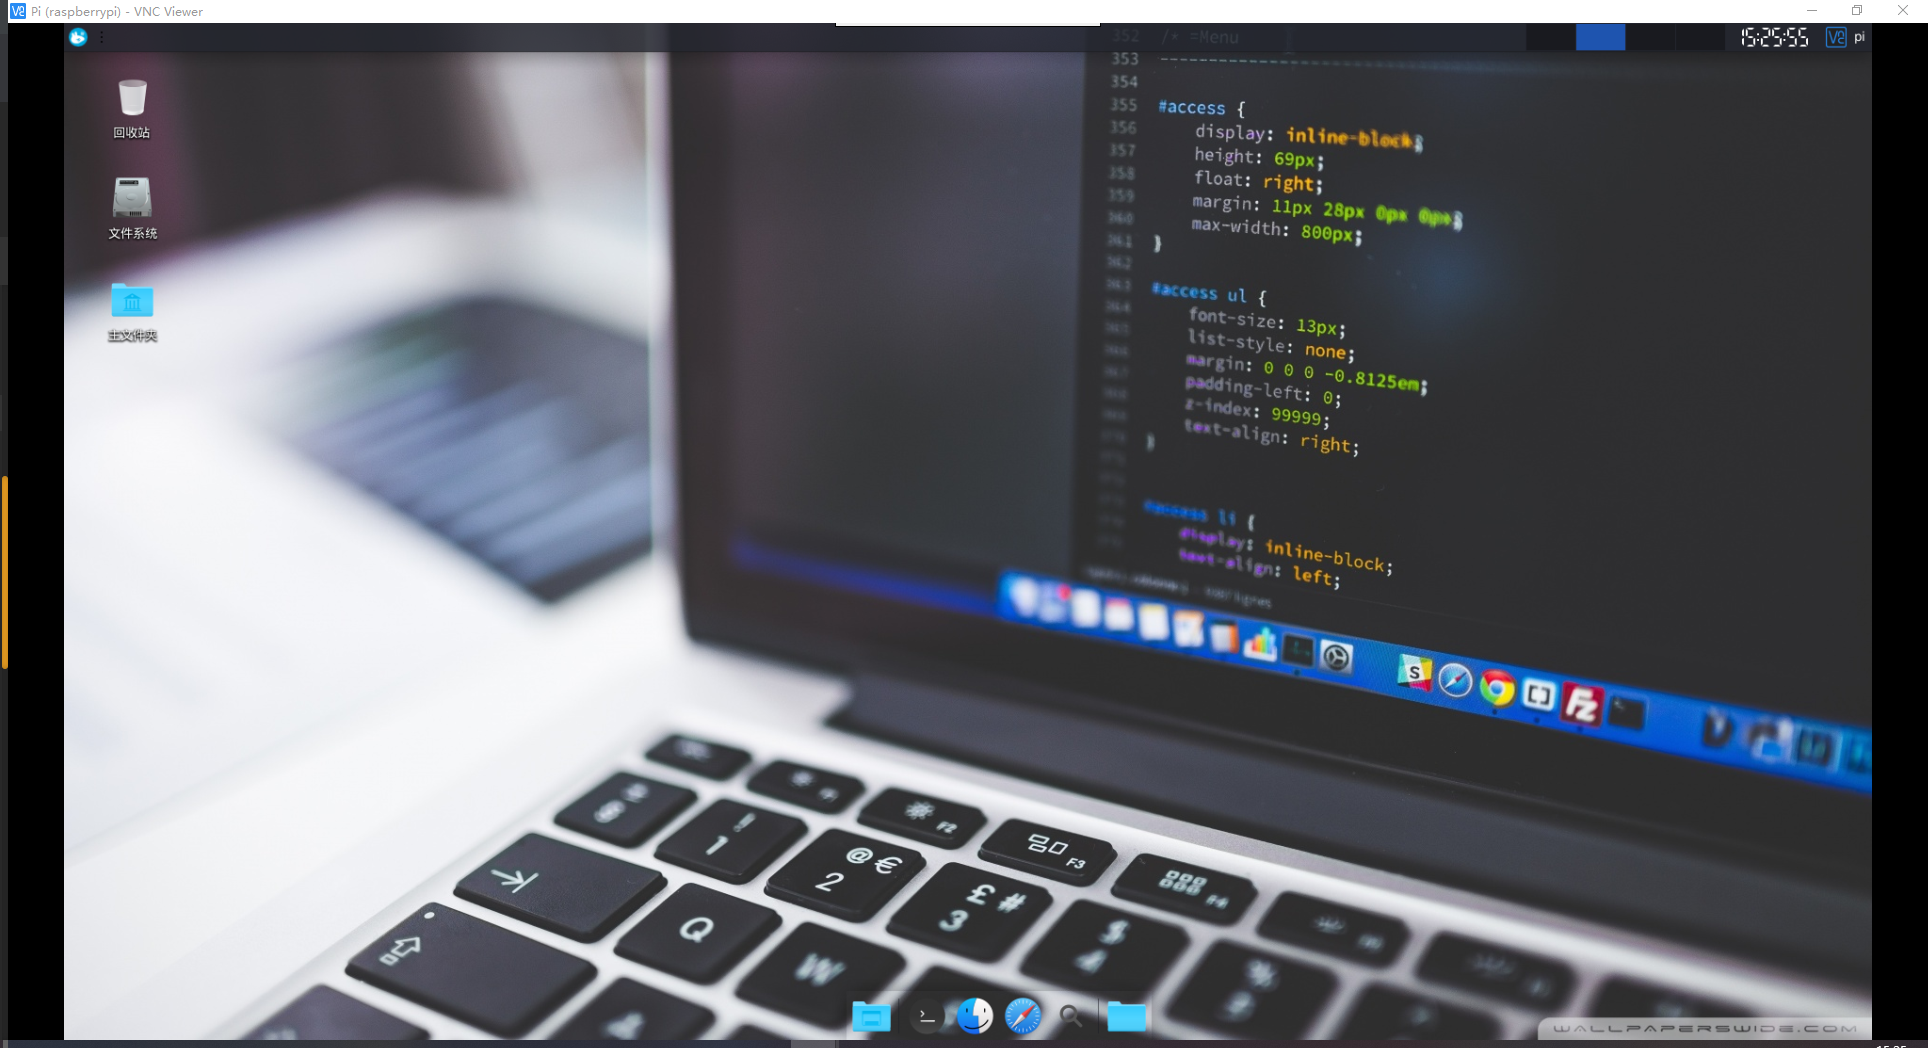
2023.07.13 更新时注: 基本用不到桌面环境,VNC更加用不到…有使用桌面需求的时候直接外接显示器更快 (也不晓得当时为啥要桌面环境还选的不带桌面环境的版本折腾)
软件安装
Docker
https://shumeipai.nxez.com/2019/05/20/how-to-install-docker-on-your-raspberry-pi.html
VIM
树莓派直接通过apt安装的VIM是不支持python的,所以只能自己编译安装:
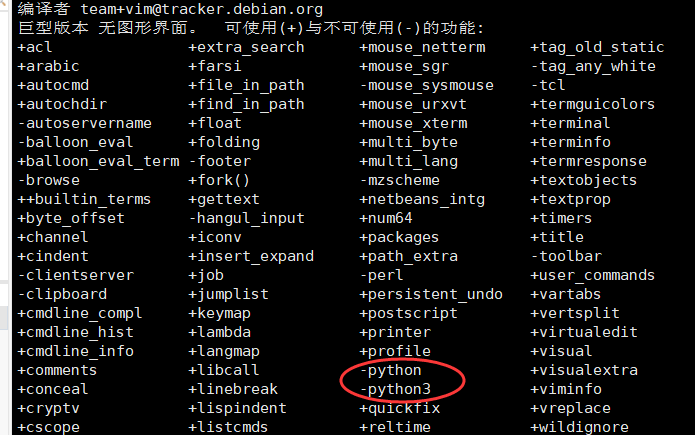
1 | git clone https://github.com/vim/vim.git |
平台搭建
Pi-hole 广告过滤
搭建完成之后经实际测试感觉效果不佳,搜狐网上很多广告依旧存在
项目链接:https://github.com/pi-hole/pi-hole
下载安装:直接参考 github 上的 README 即可一句话自动安装
1 | curl -sSL https://install.pi-hole.net | bash |
一路确定,直到安装成功,通过访问 http://ip/admin 进入管理页面
2023.07.13 更新时注:再没尝试搭建过,不清楚现在效果如何,不过如果需要作软路由的话可以刷 openwrt 玩,更香
硬件相关
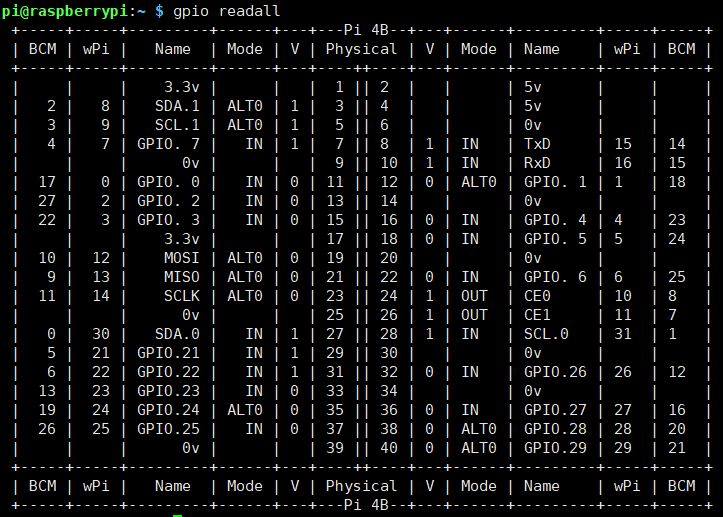
引脚对照表

外接 OLED 屏
修改 /boot/config.txt ,开启 i2c 和 spi
Arduino IDE
1 | 安装 |
Node-RED
- 简介:Node-RED 是一个基于浏览器的编程工具,可以直接可视化地将硬件设备、API以及在线服务连接起来
项目仓库:https://github.com/node-red/node-red
1 | 安装依赖 |
监听地址修改:配置文件在 ~/.node-red/settings.json, 将 iHost 修改为 “0.0.0.0” 即可